Recently my husband and I have had the 'love it or list it' conversation about our home. We really enjoy where we live and after many discussions we have decided to love our home and stay in it for a long, long, long, very long time. Part of those discussions were how to "re-fall-in-love" with our home like we did when we first found it. When we first moved in, our house needed some work. We redid the floors, painted, added crown molding, and really spruced up the place. In the past year we overhauled our master bathroom. All of these projects have been DIY.
We made a list of what we would want in our house to make it our dream home (furniture not included). So, we will be tackling this list, project by project. For us, we really enjoy doing these projects together and making our house our home... exactly how we want it.
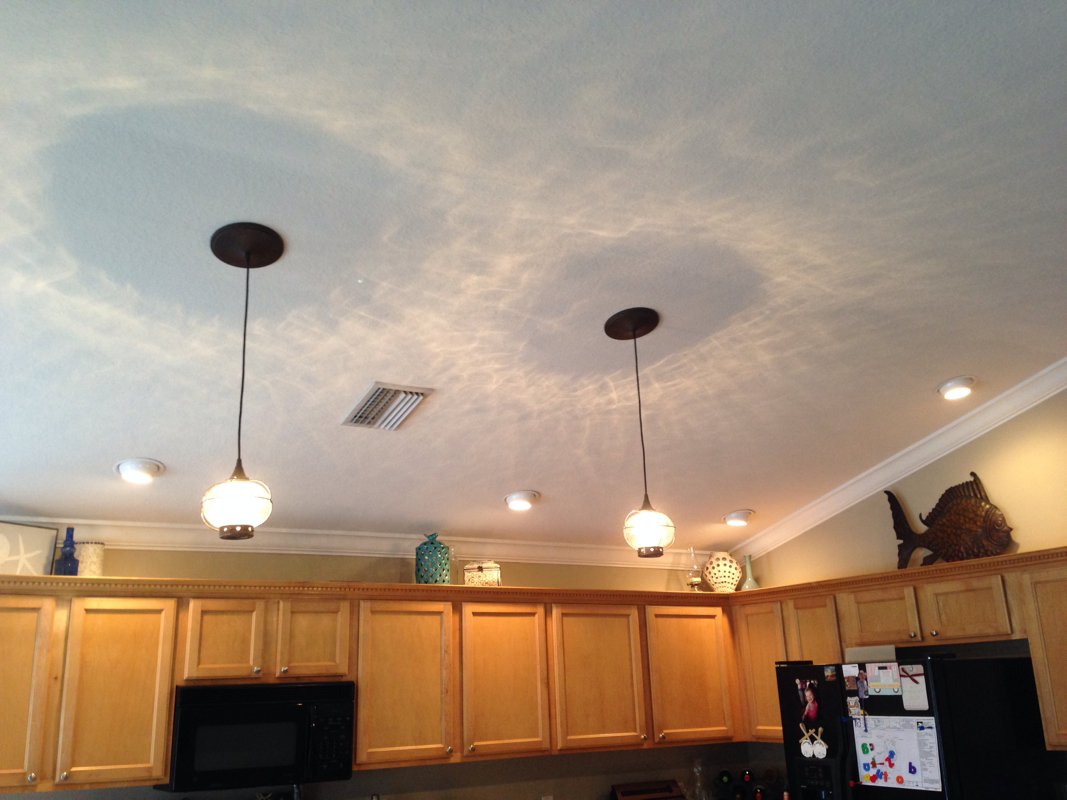
For today's project...
Drop down lighting
We made a list of what we would want in our house to make it our dream home (furniture not included). So, we will be tackling this list, project by project. For us, we really enjoy doing these projects together and making our house our home... exactly how we want it.
For today's project...
Drop down lighting
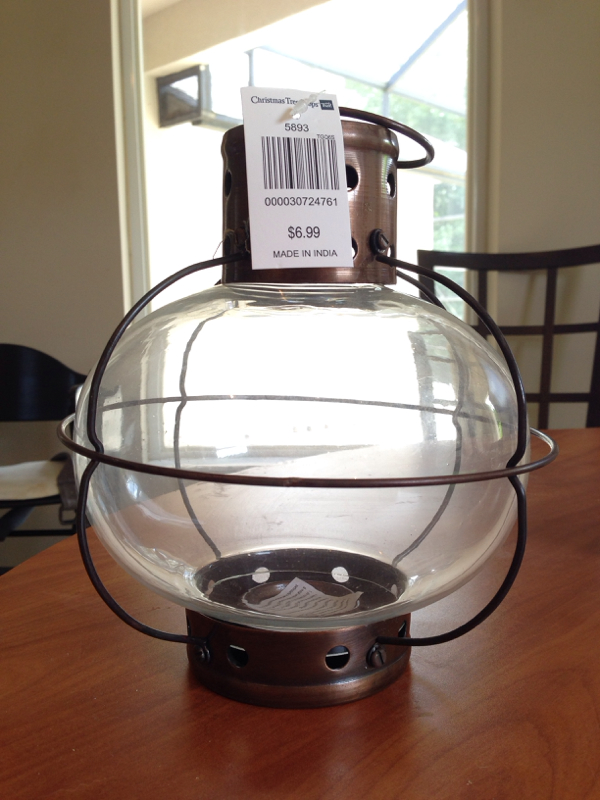
Recently we had a trip across the state and came across a "Christmas Tree Shop" in Orlando. SO EXCITING! I found these hurricane lights for $6.99 that are made for candles. Well, I'm thinking there MUST be a way to convert them into hanging lights considering this is something on our home improvement list and these only cost around $7!!!!!!!! We bought 4 of them, 2 to use, and 2 for back up/decorations.
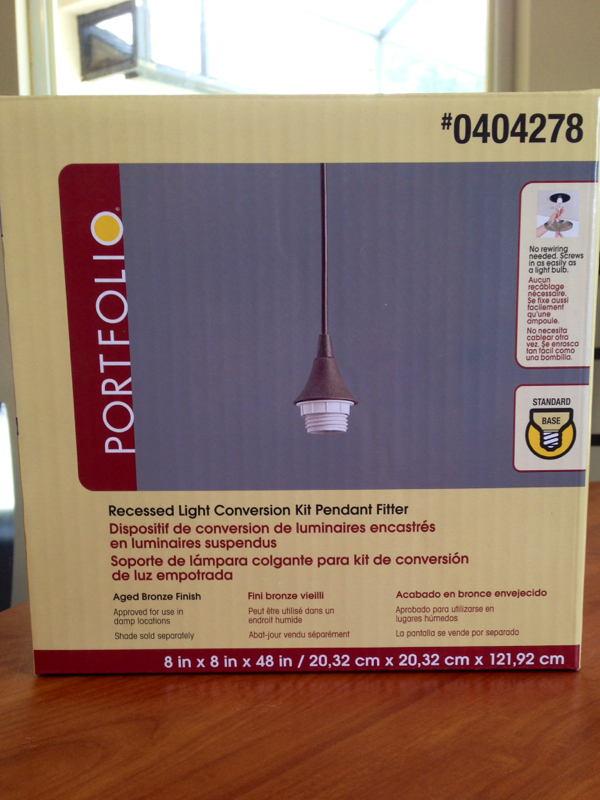
Well, the lights sat around our house for a few weeks until recently when we were at Lowes and came across this light kit ($19.99 each)! It's made for converting recessed lighting into drop downs... BINGO!
We took the following steps:
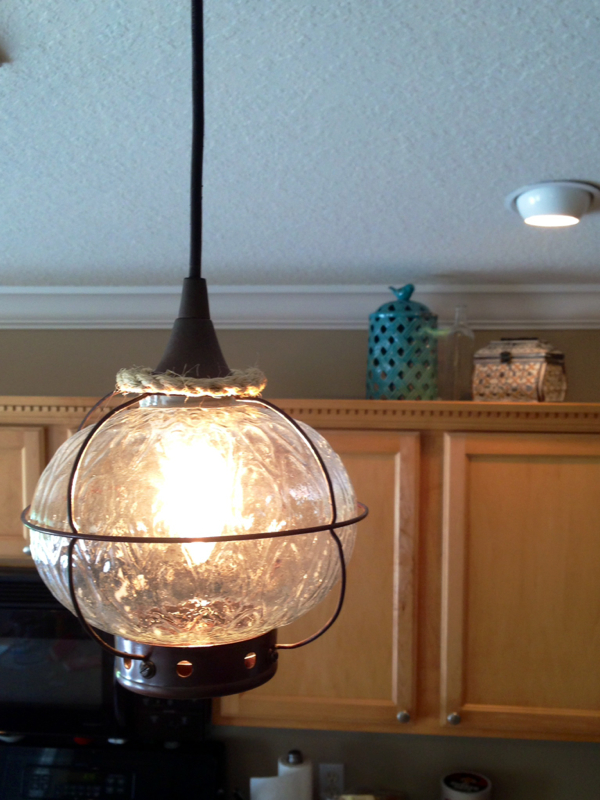
Finished Product:
- Power off (just light switch, my husband lives on the edge)
- Remove the existing light
- Screw in the new wire into the fixture that's there (super easy)
- We had to remove the whole apparatus so there were zip ties involved in getting everything the right height
- Adjust the wire to the height you want it, and tighten
- For the light, I had to remove the outer metal held together by screws
- The top part will no longer be used.
- I then was able to fit my hand into the bottom to screw the glass onto the fixture.
- Insert the light bulb
- Attach the metal around the glass again
- the finished product was a little different... I had to add the rope to hide where the metal should be attached to the top piece.
- We used fishing line to tie the 4 metal pieces together
- Hot glue some rope around it to complete the nautical look
Finished Product:
Have fun with your DIY's!
 RSS Feed
